Hosted
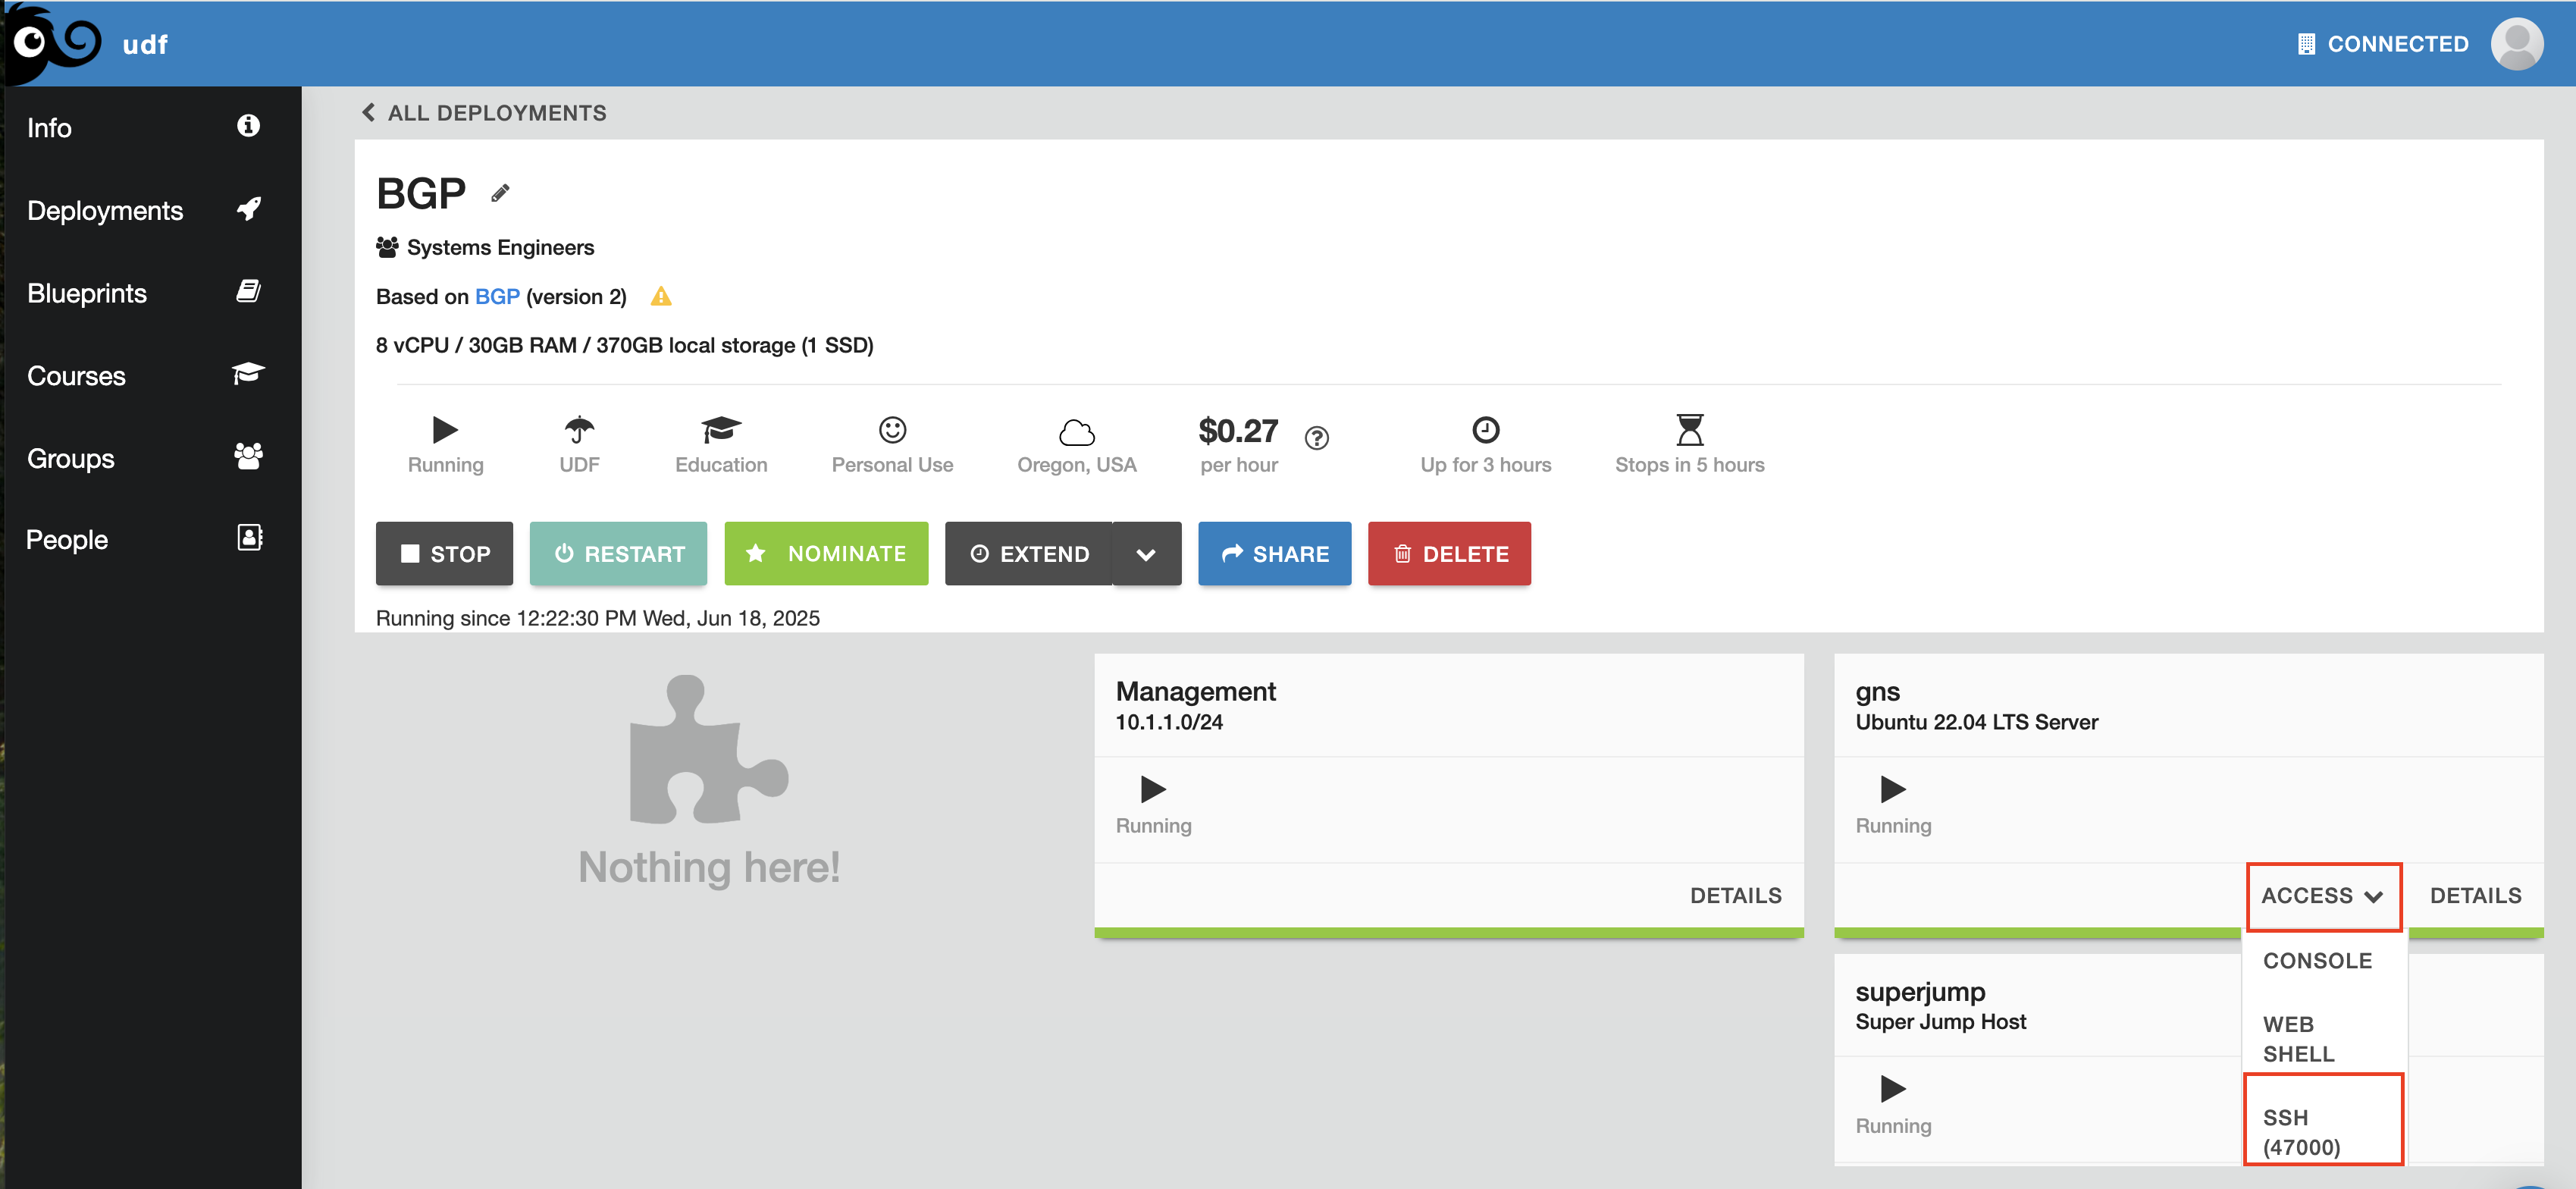
Once you’ve started the UDF course. Navigate to the gns system box and select the ACCESS dropdown and click on WEB SHELL

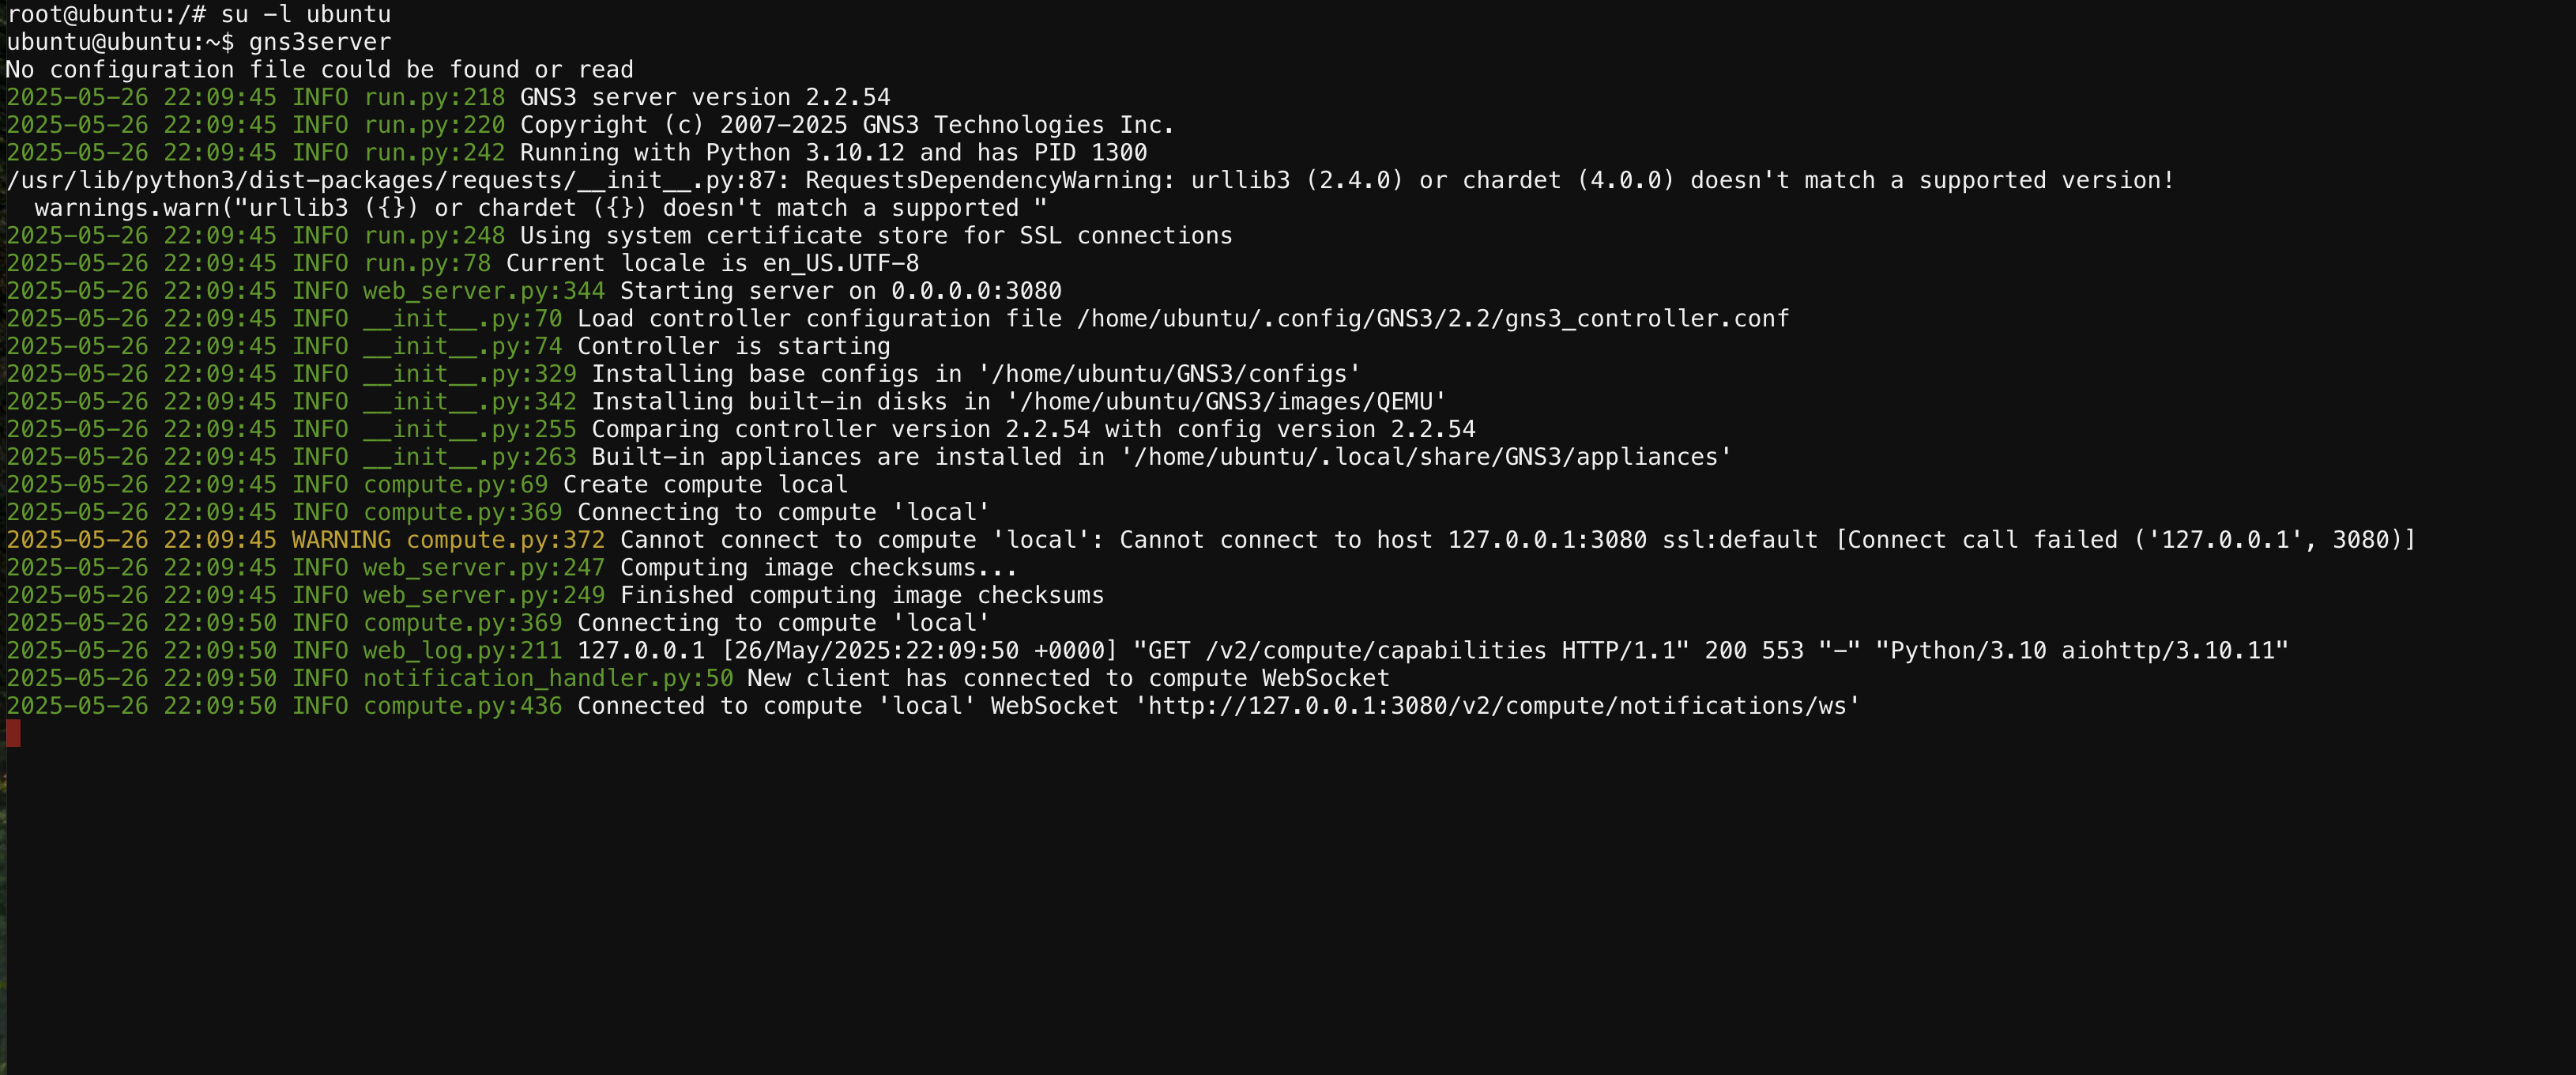
Once open, issue the commands
su -l ubuntu
gns3server
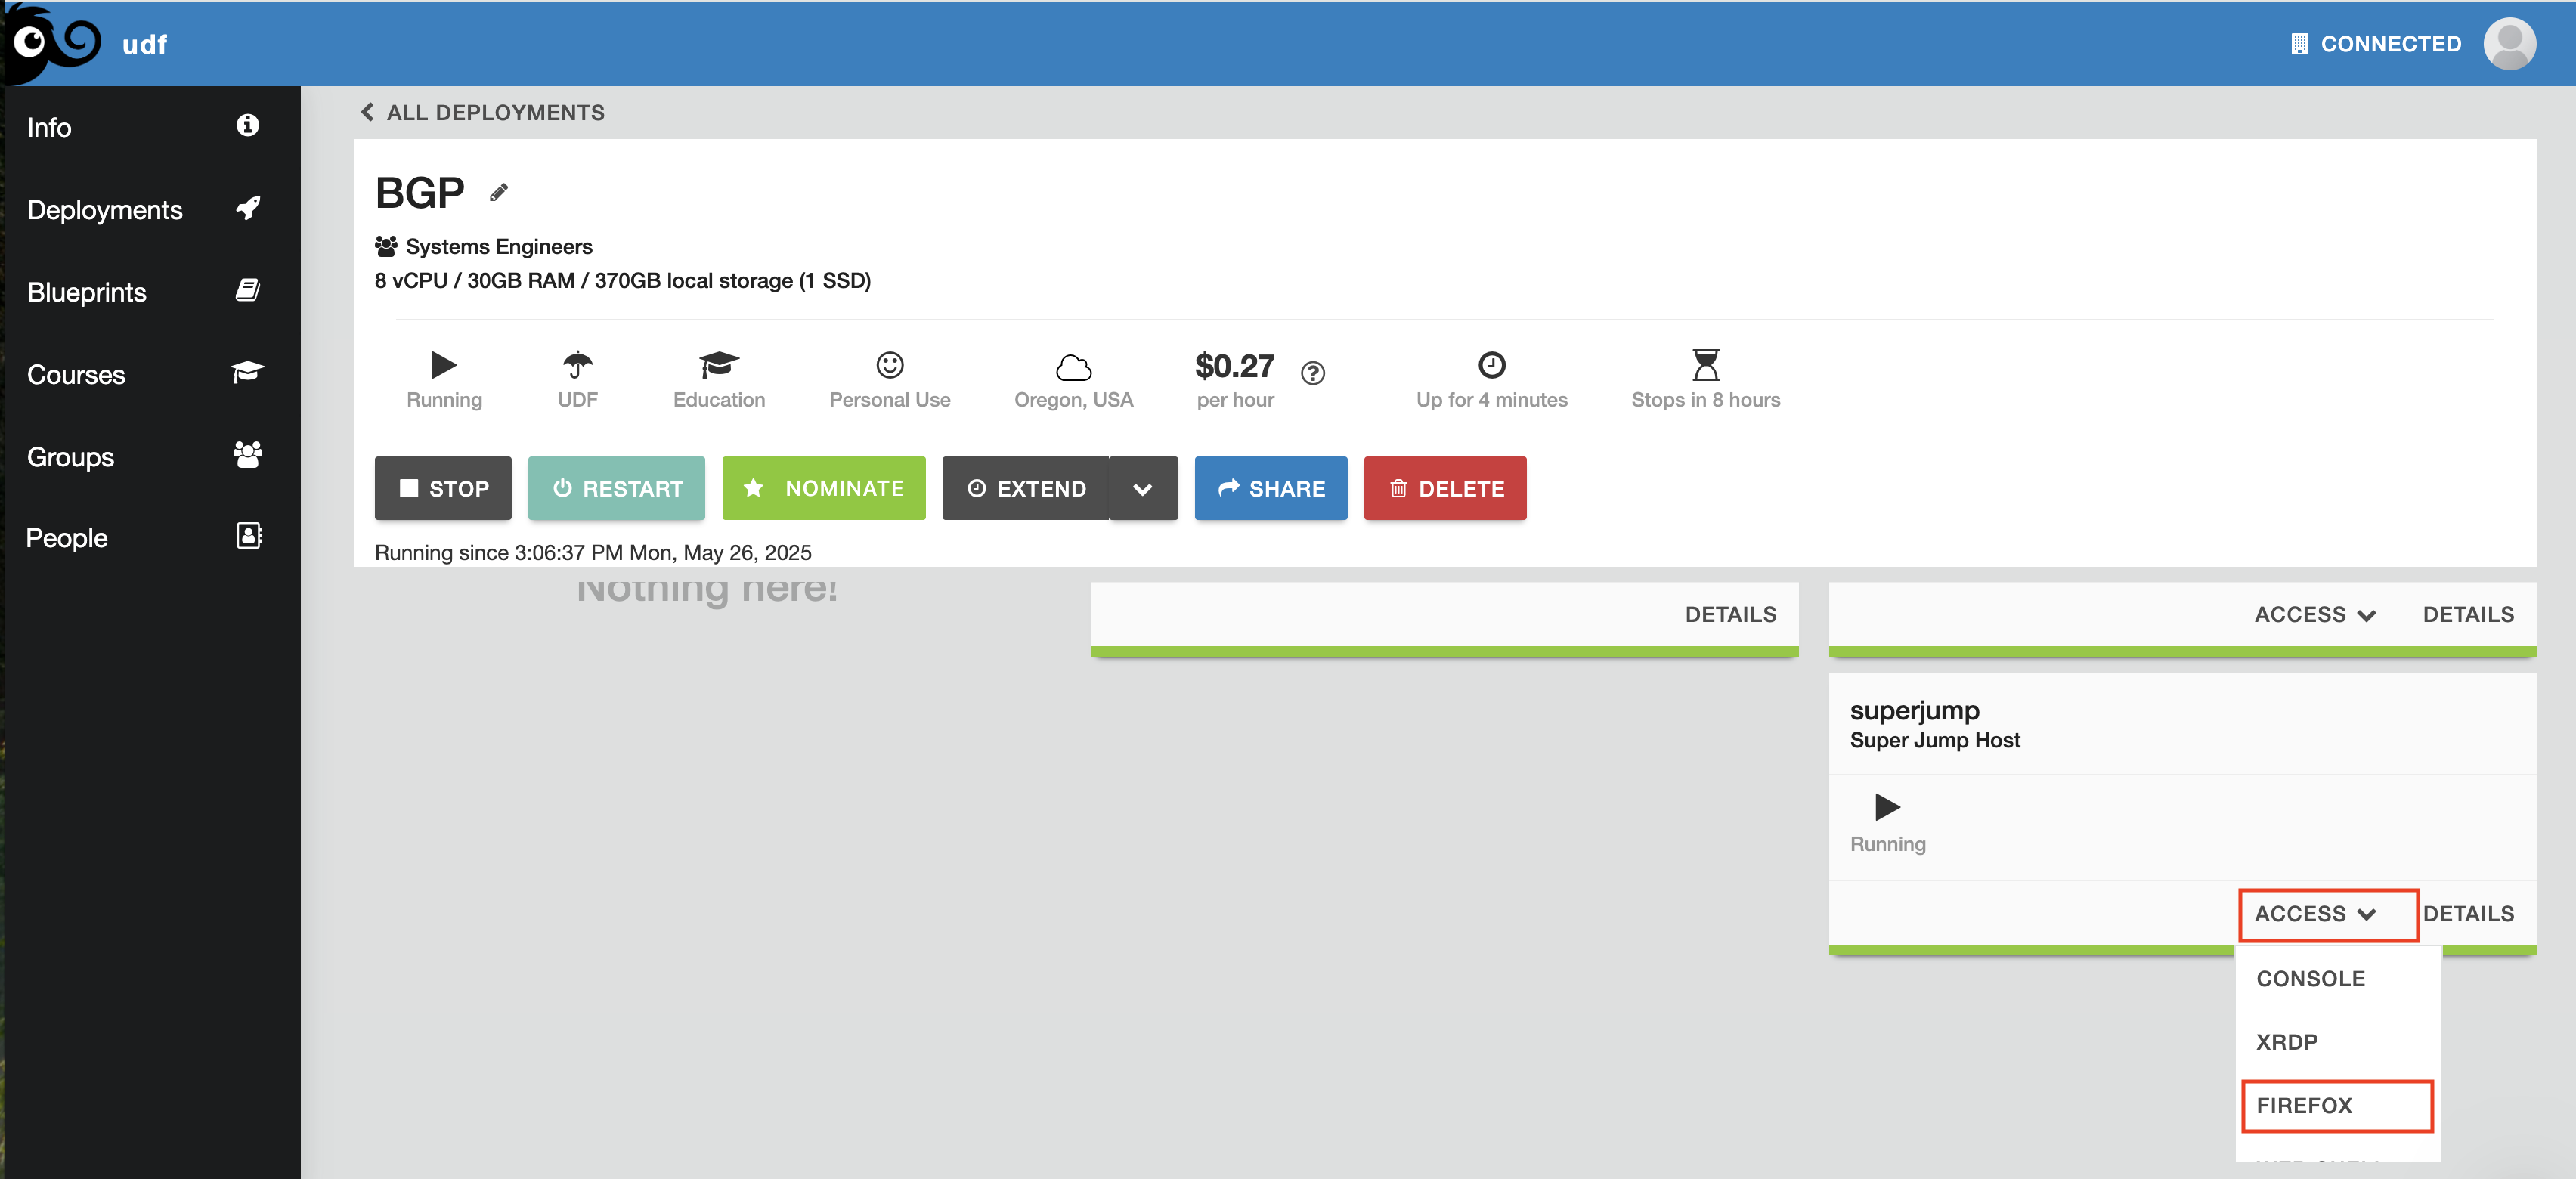
Once the GNS3 server is up and running, we’ll now use the web UI to access the BGP lab. Open the FIREFOX option from the ACCESS dropdown
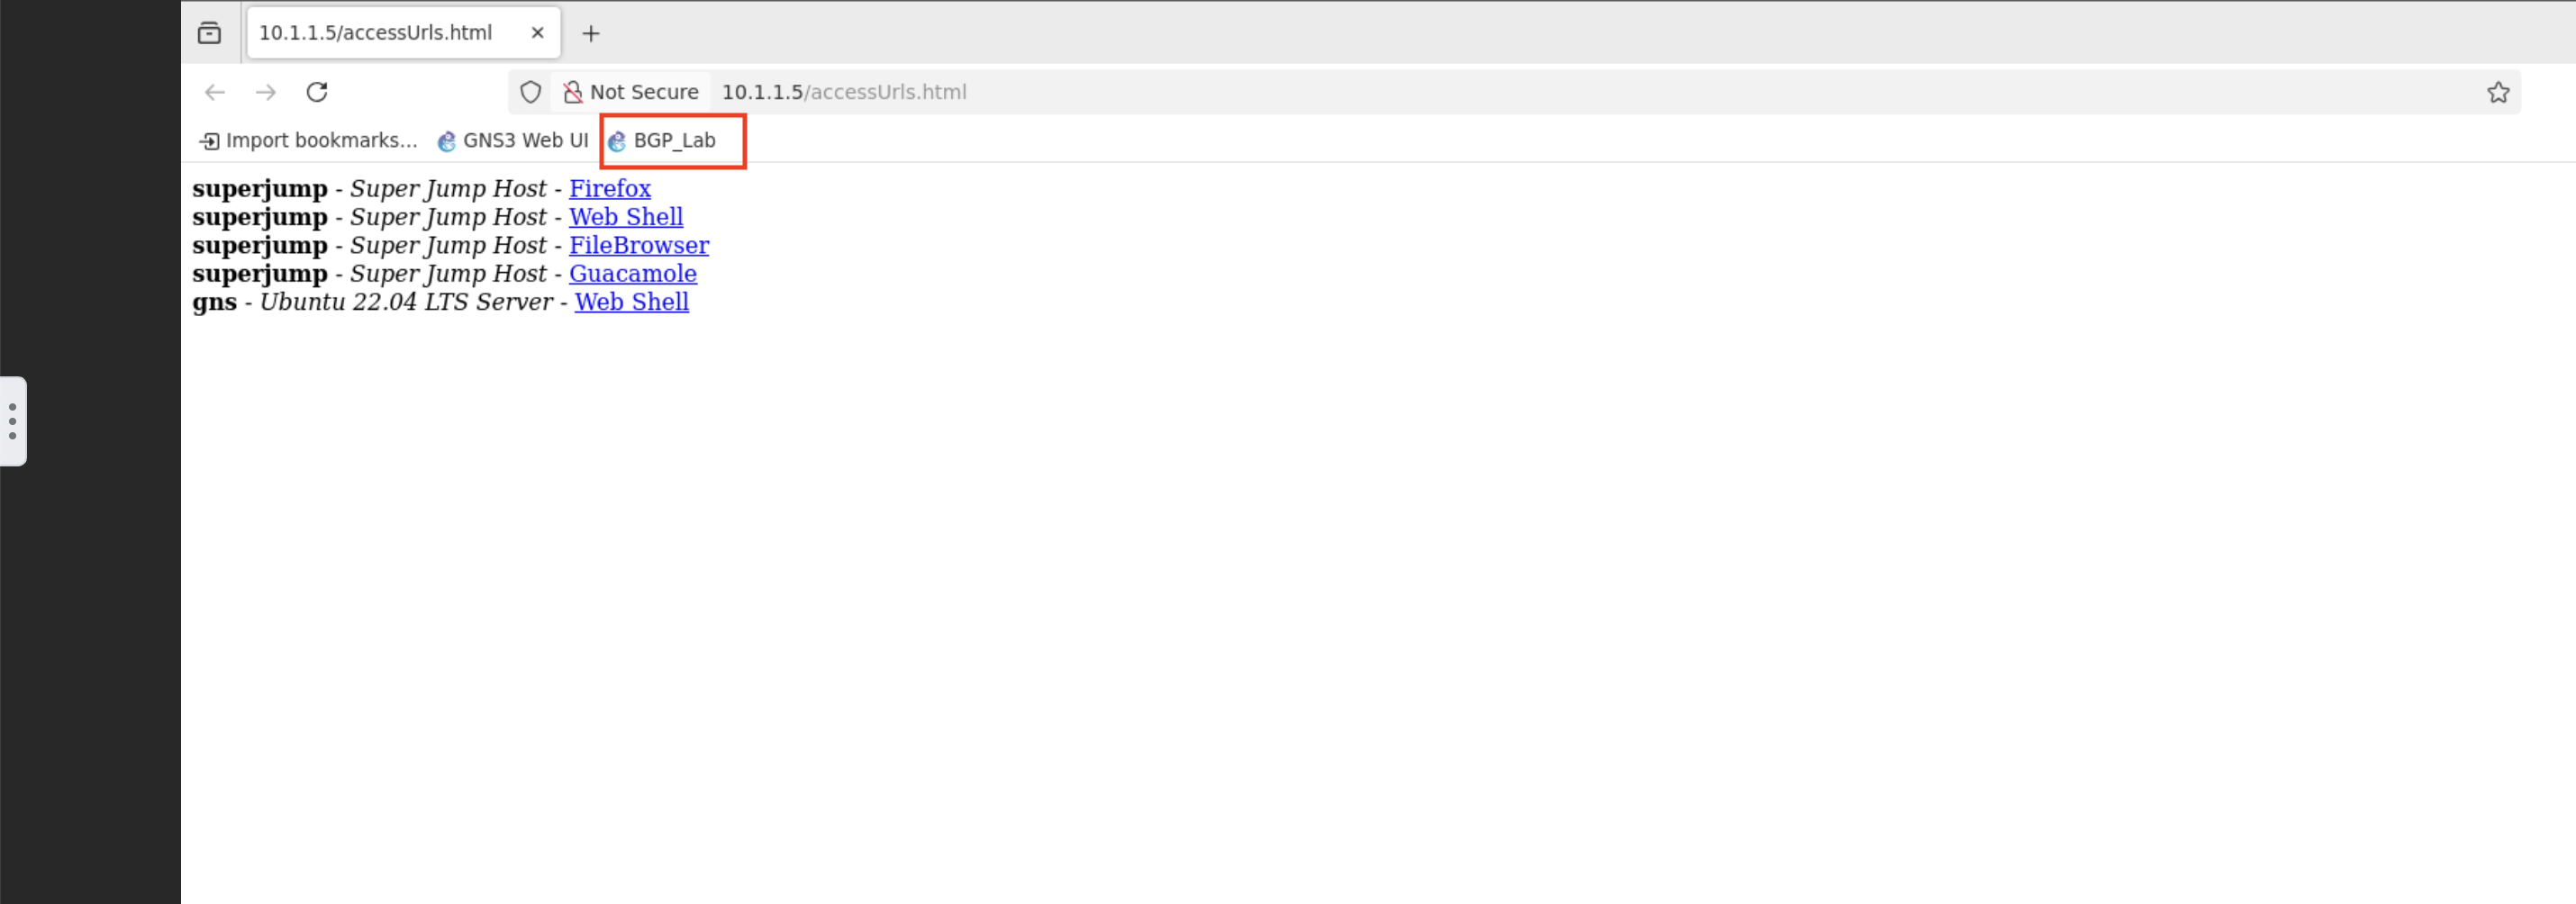
From the new Firefox tab, open the BGP_Lab bookmark.
You should now see the lab topology like below.
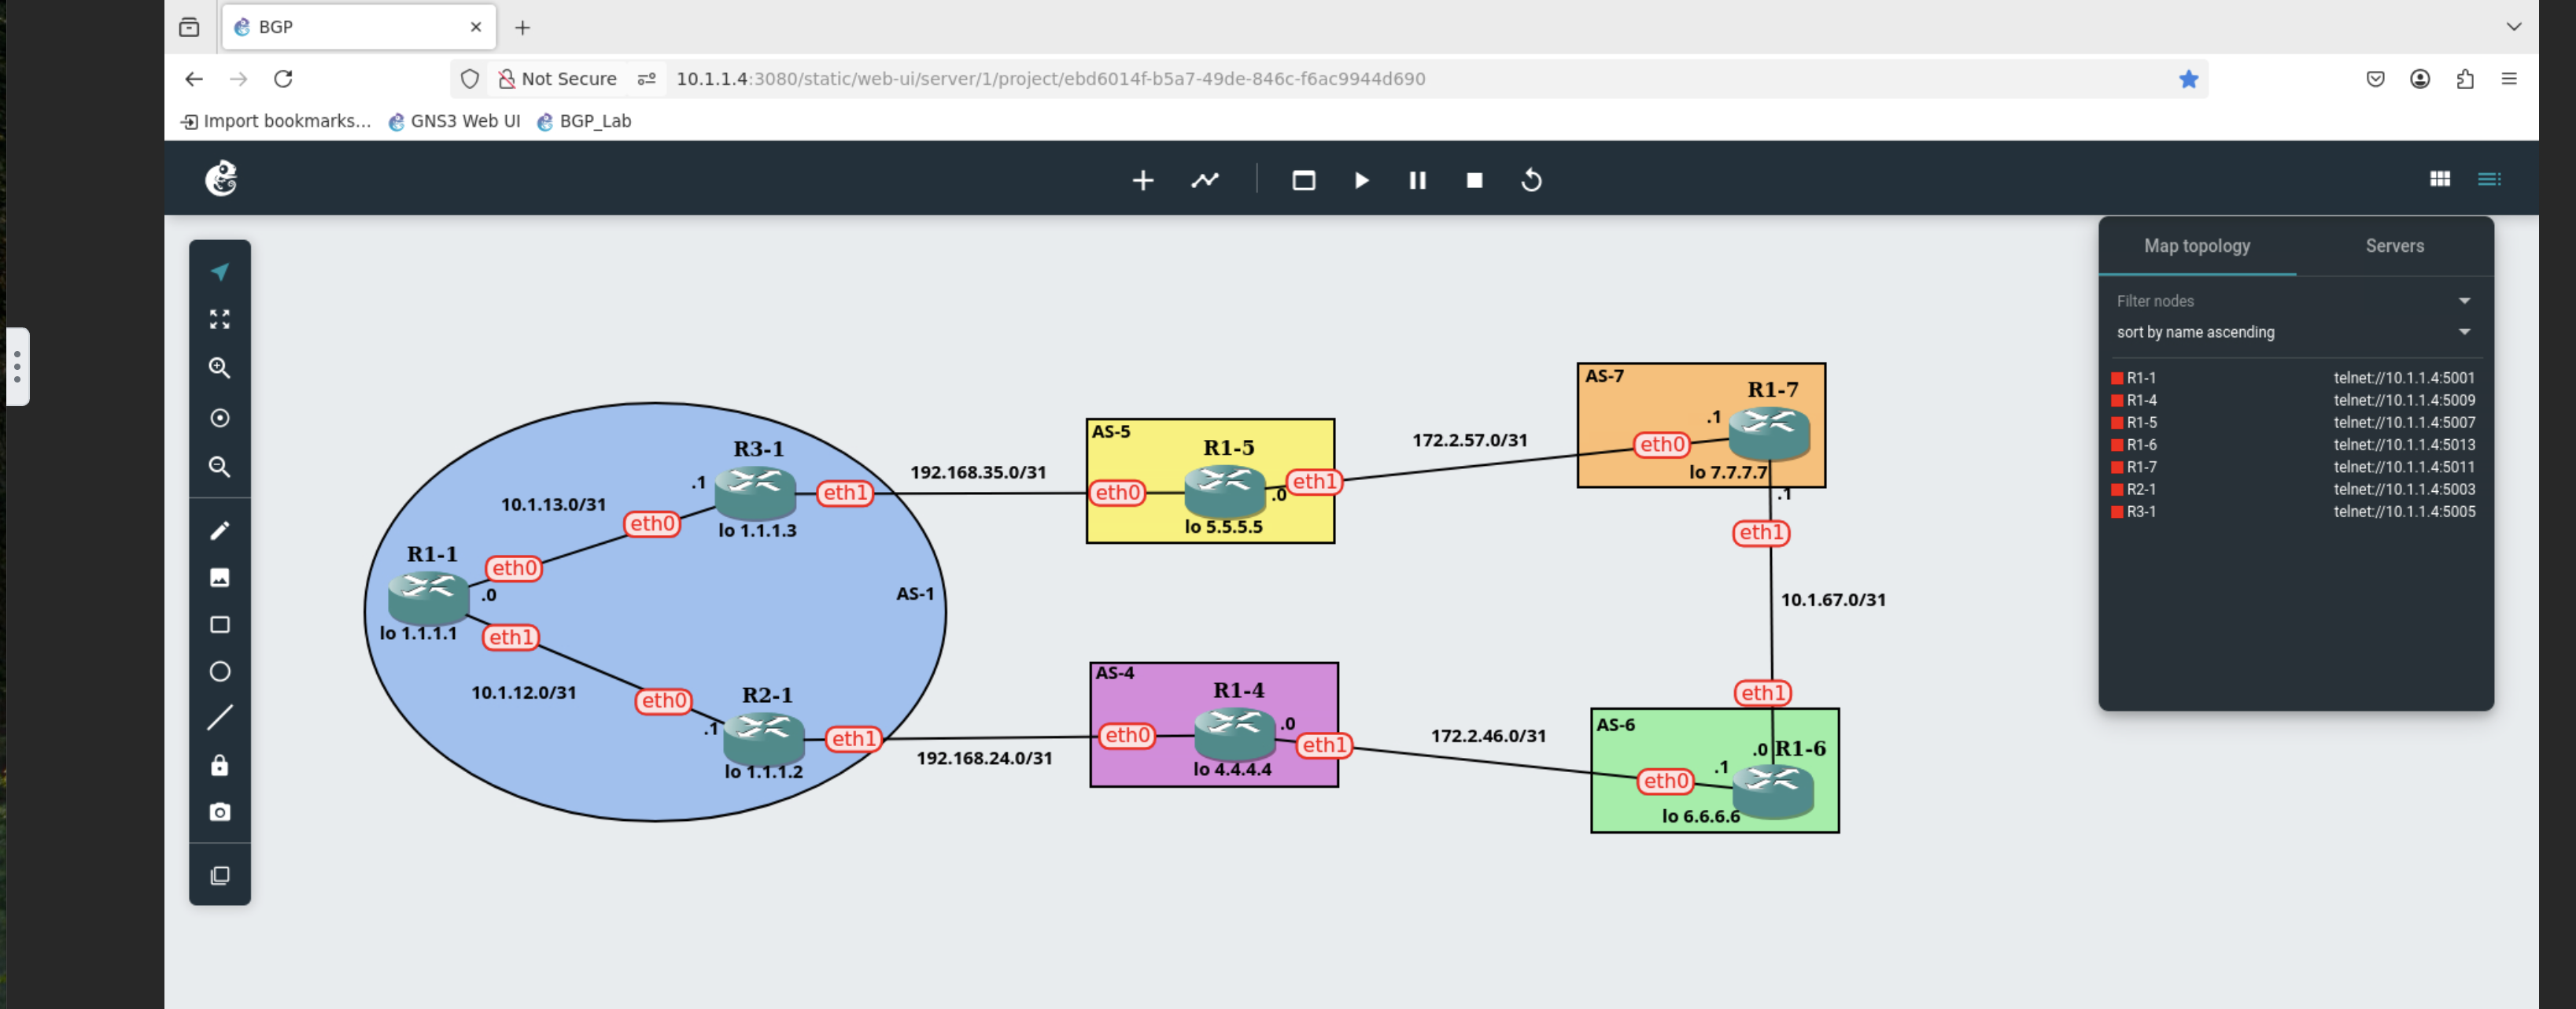
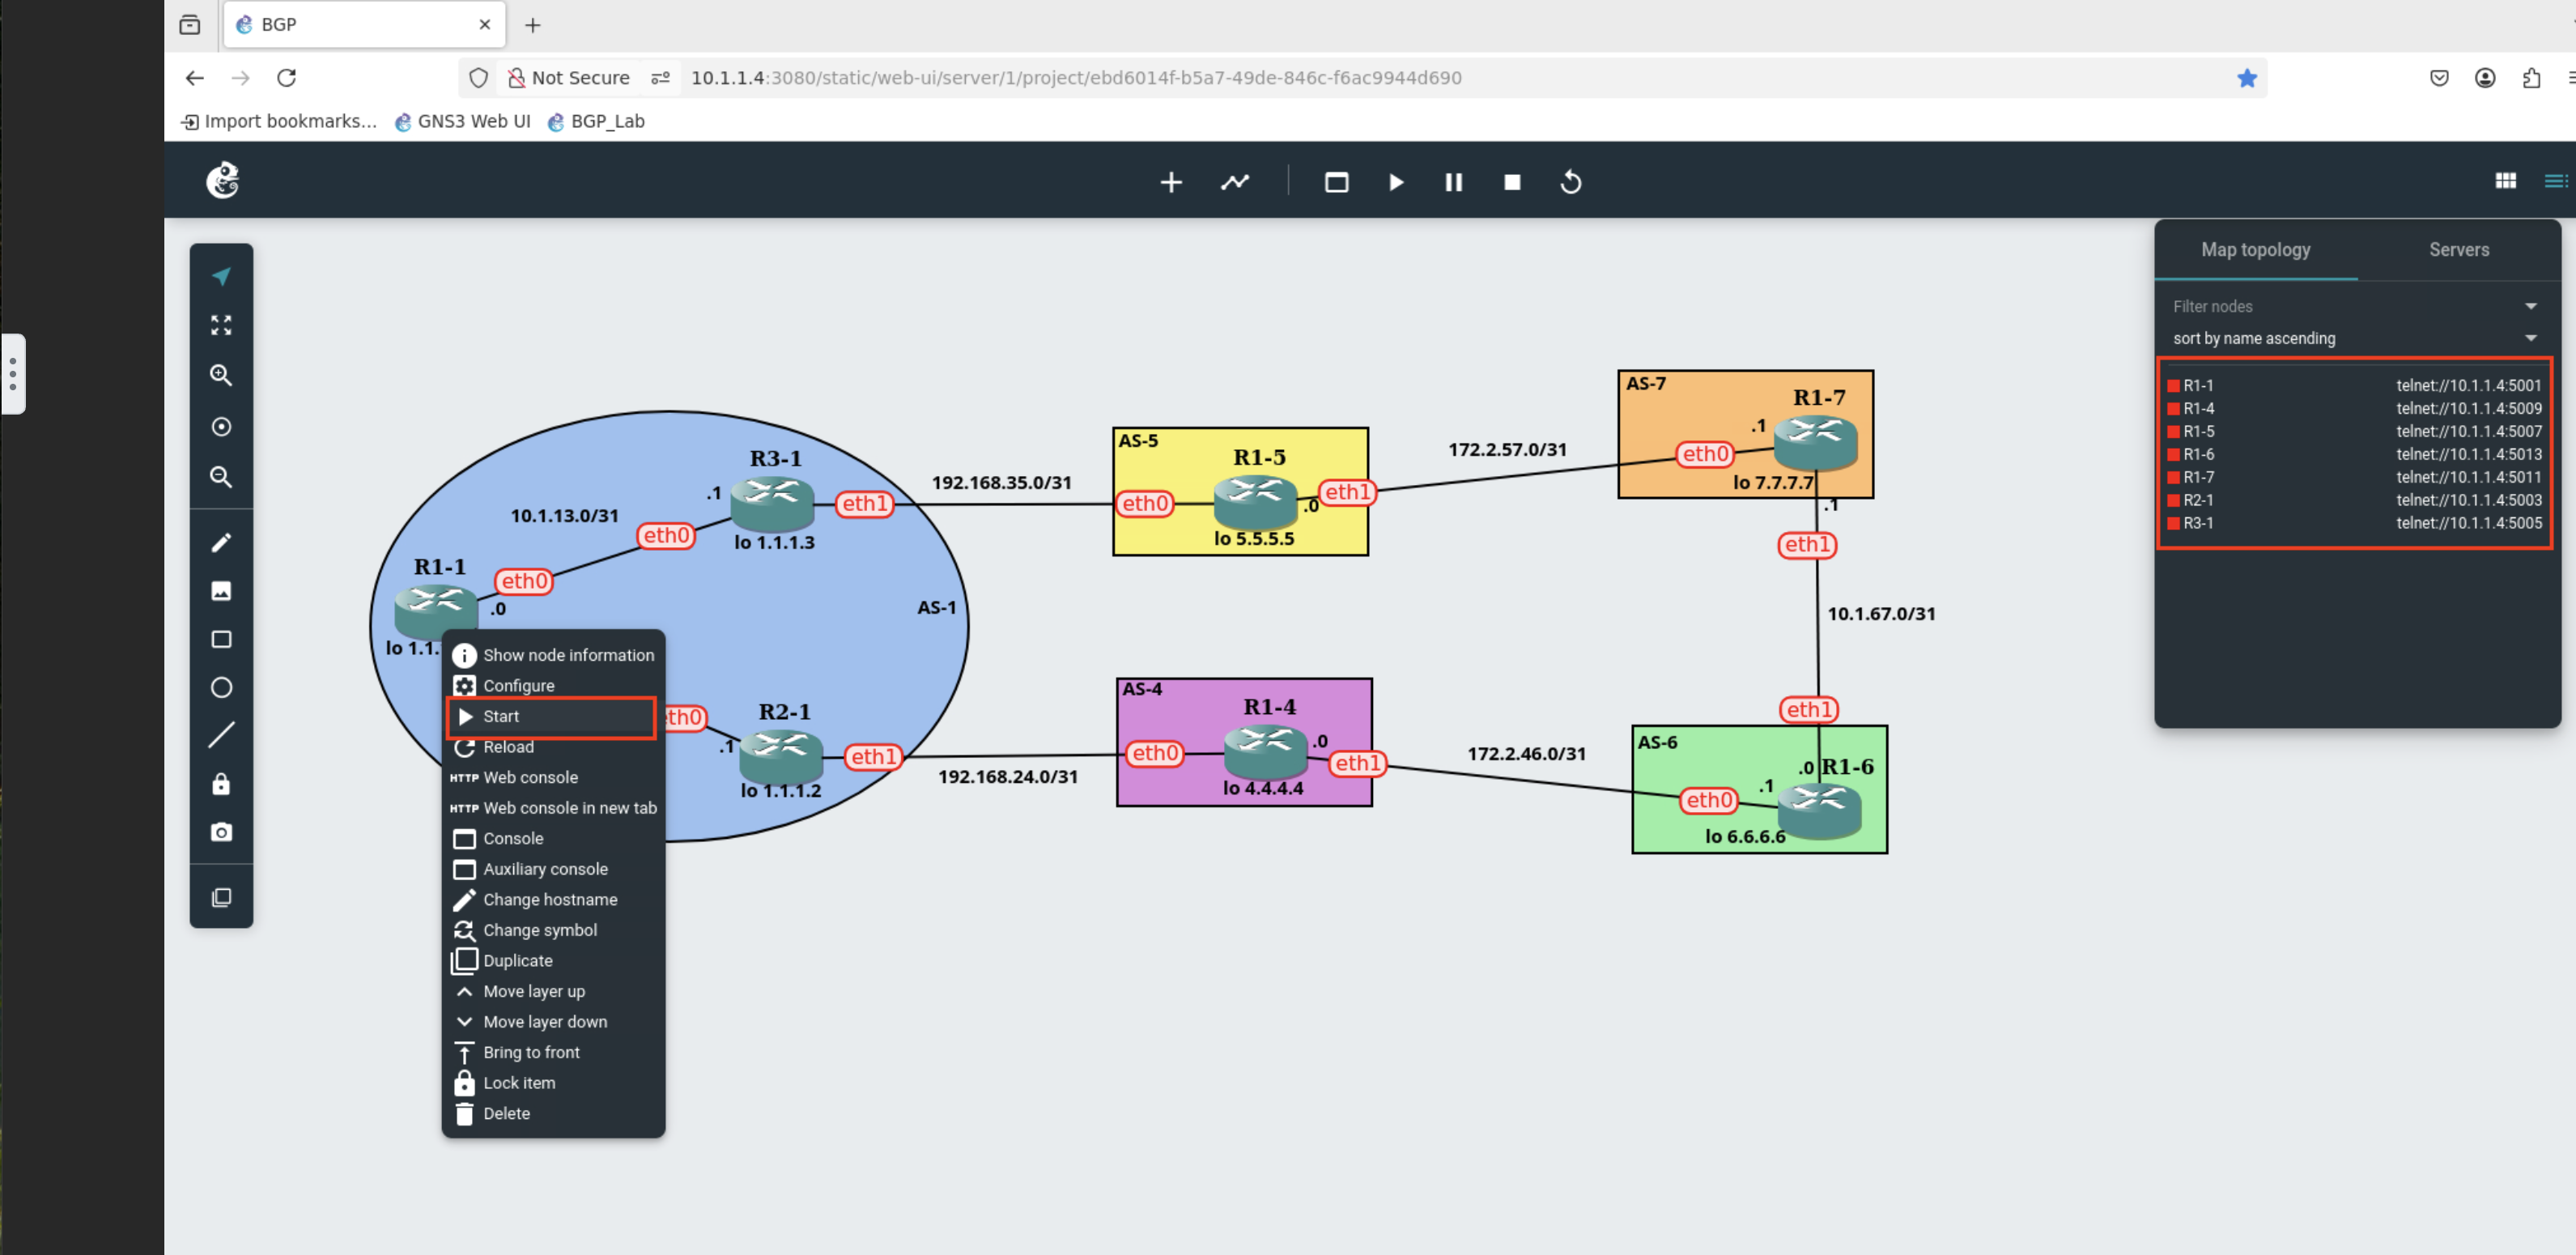
The nameing conventions for the routers are R for router, the number router and the ASN the router is in. So R1-1 is Router 1 in the autonomous system 1.
Hover your mouse over R1-1 and right click to show the router options, we will be starting the router.
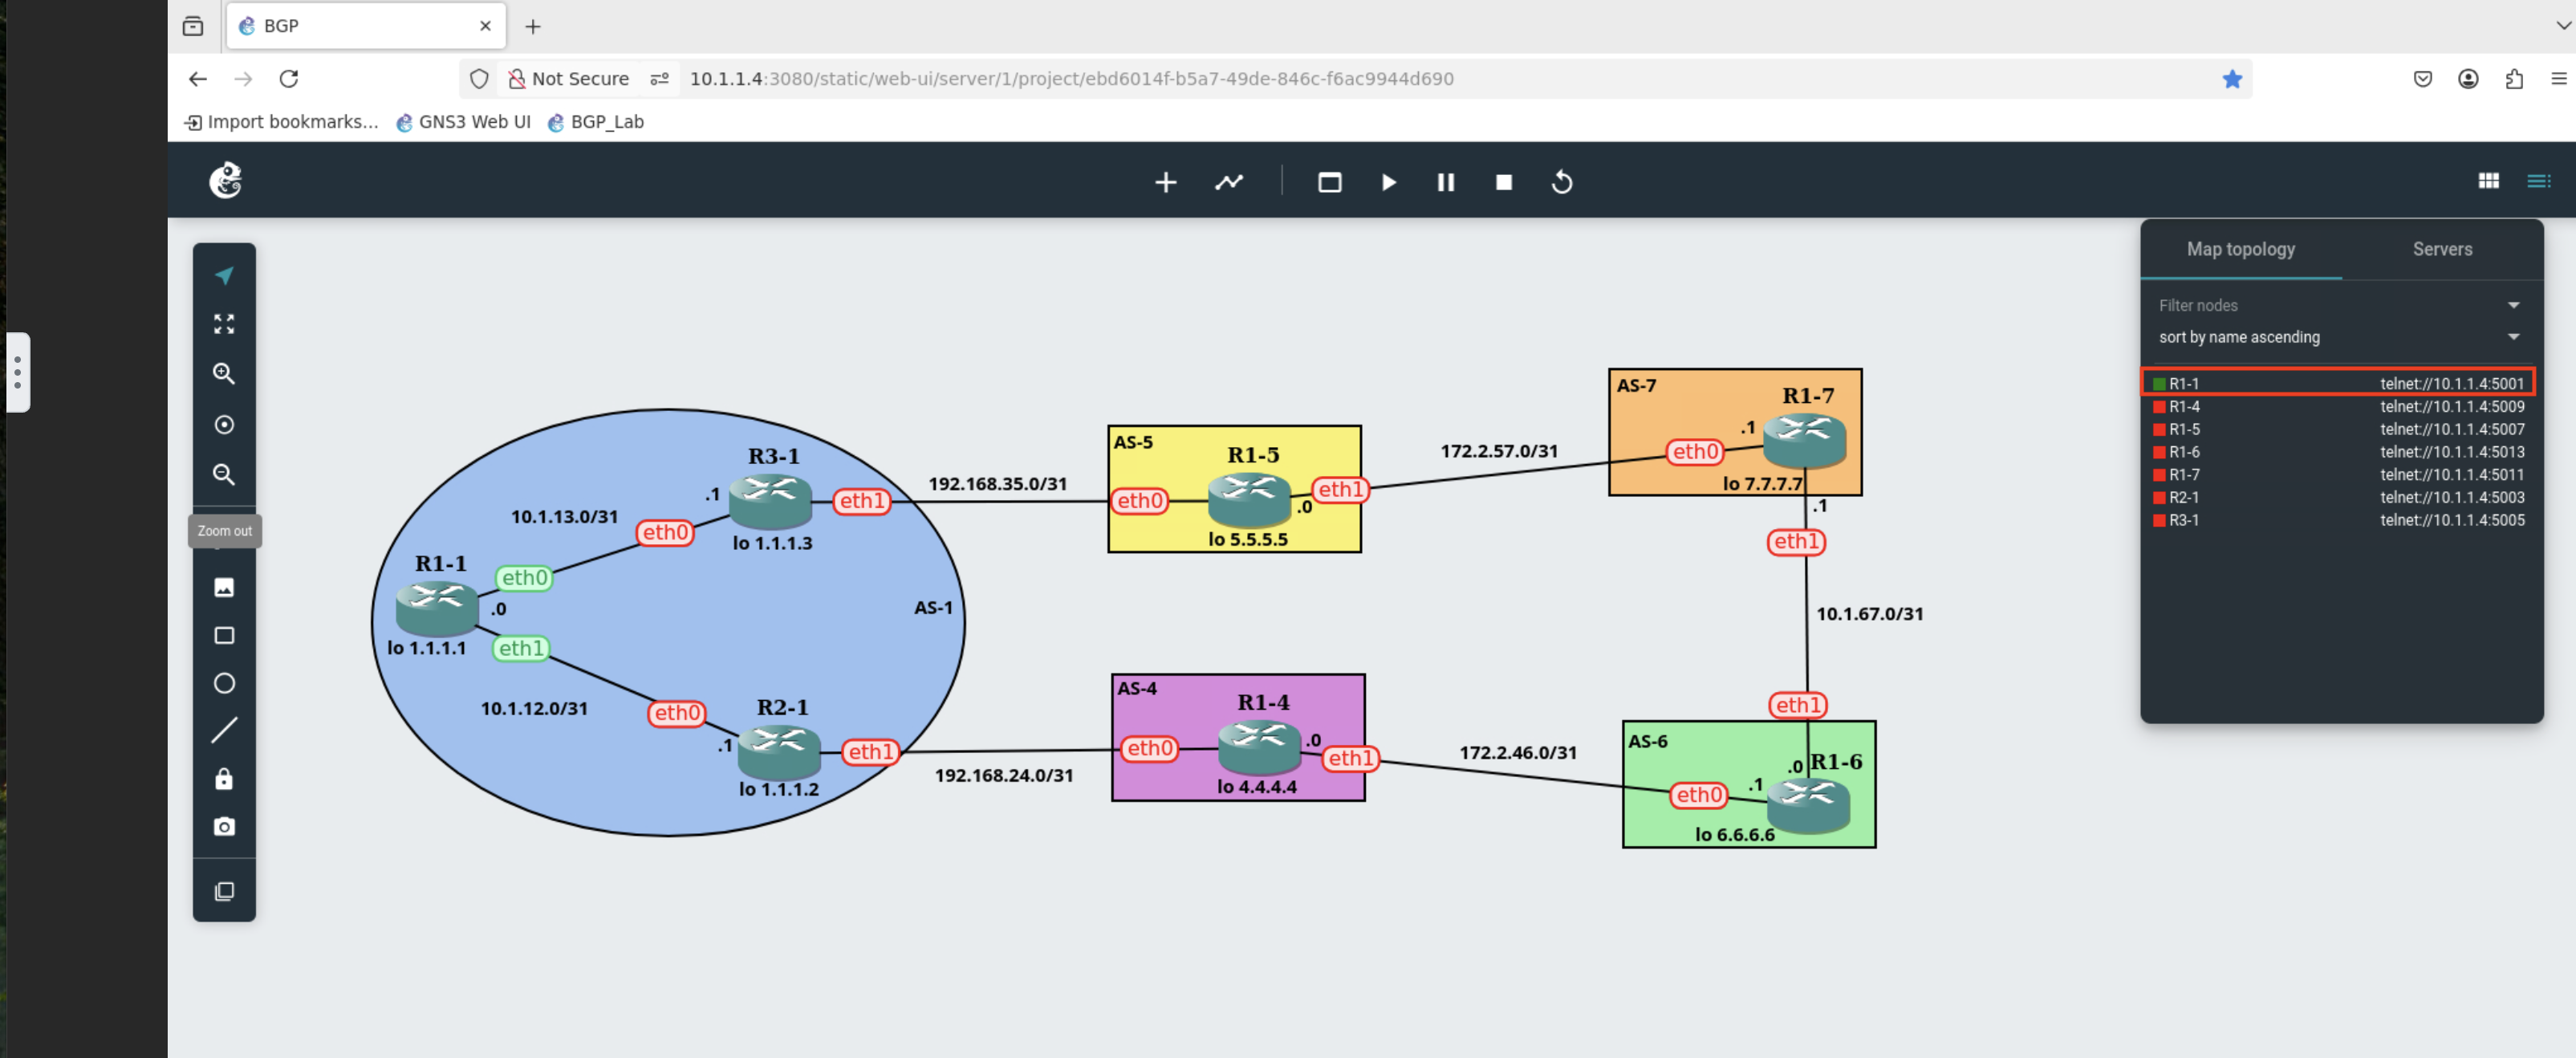
Once the router is started you should now see in the legend to the far right it’s greem status.
Now you’ll need to start each router, we are doing it this way to keep resoure utilization down. If we started all the routers at once it would overwhelm the VM we have. Please allow each router to start before starting the next one.
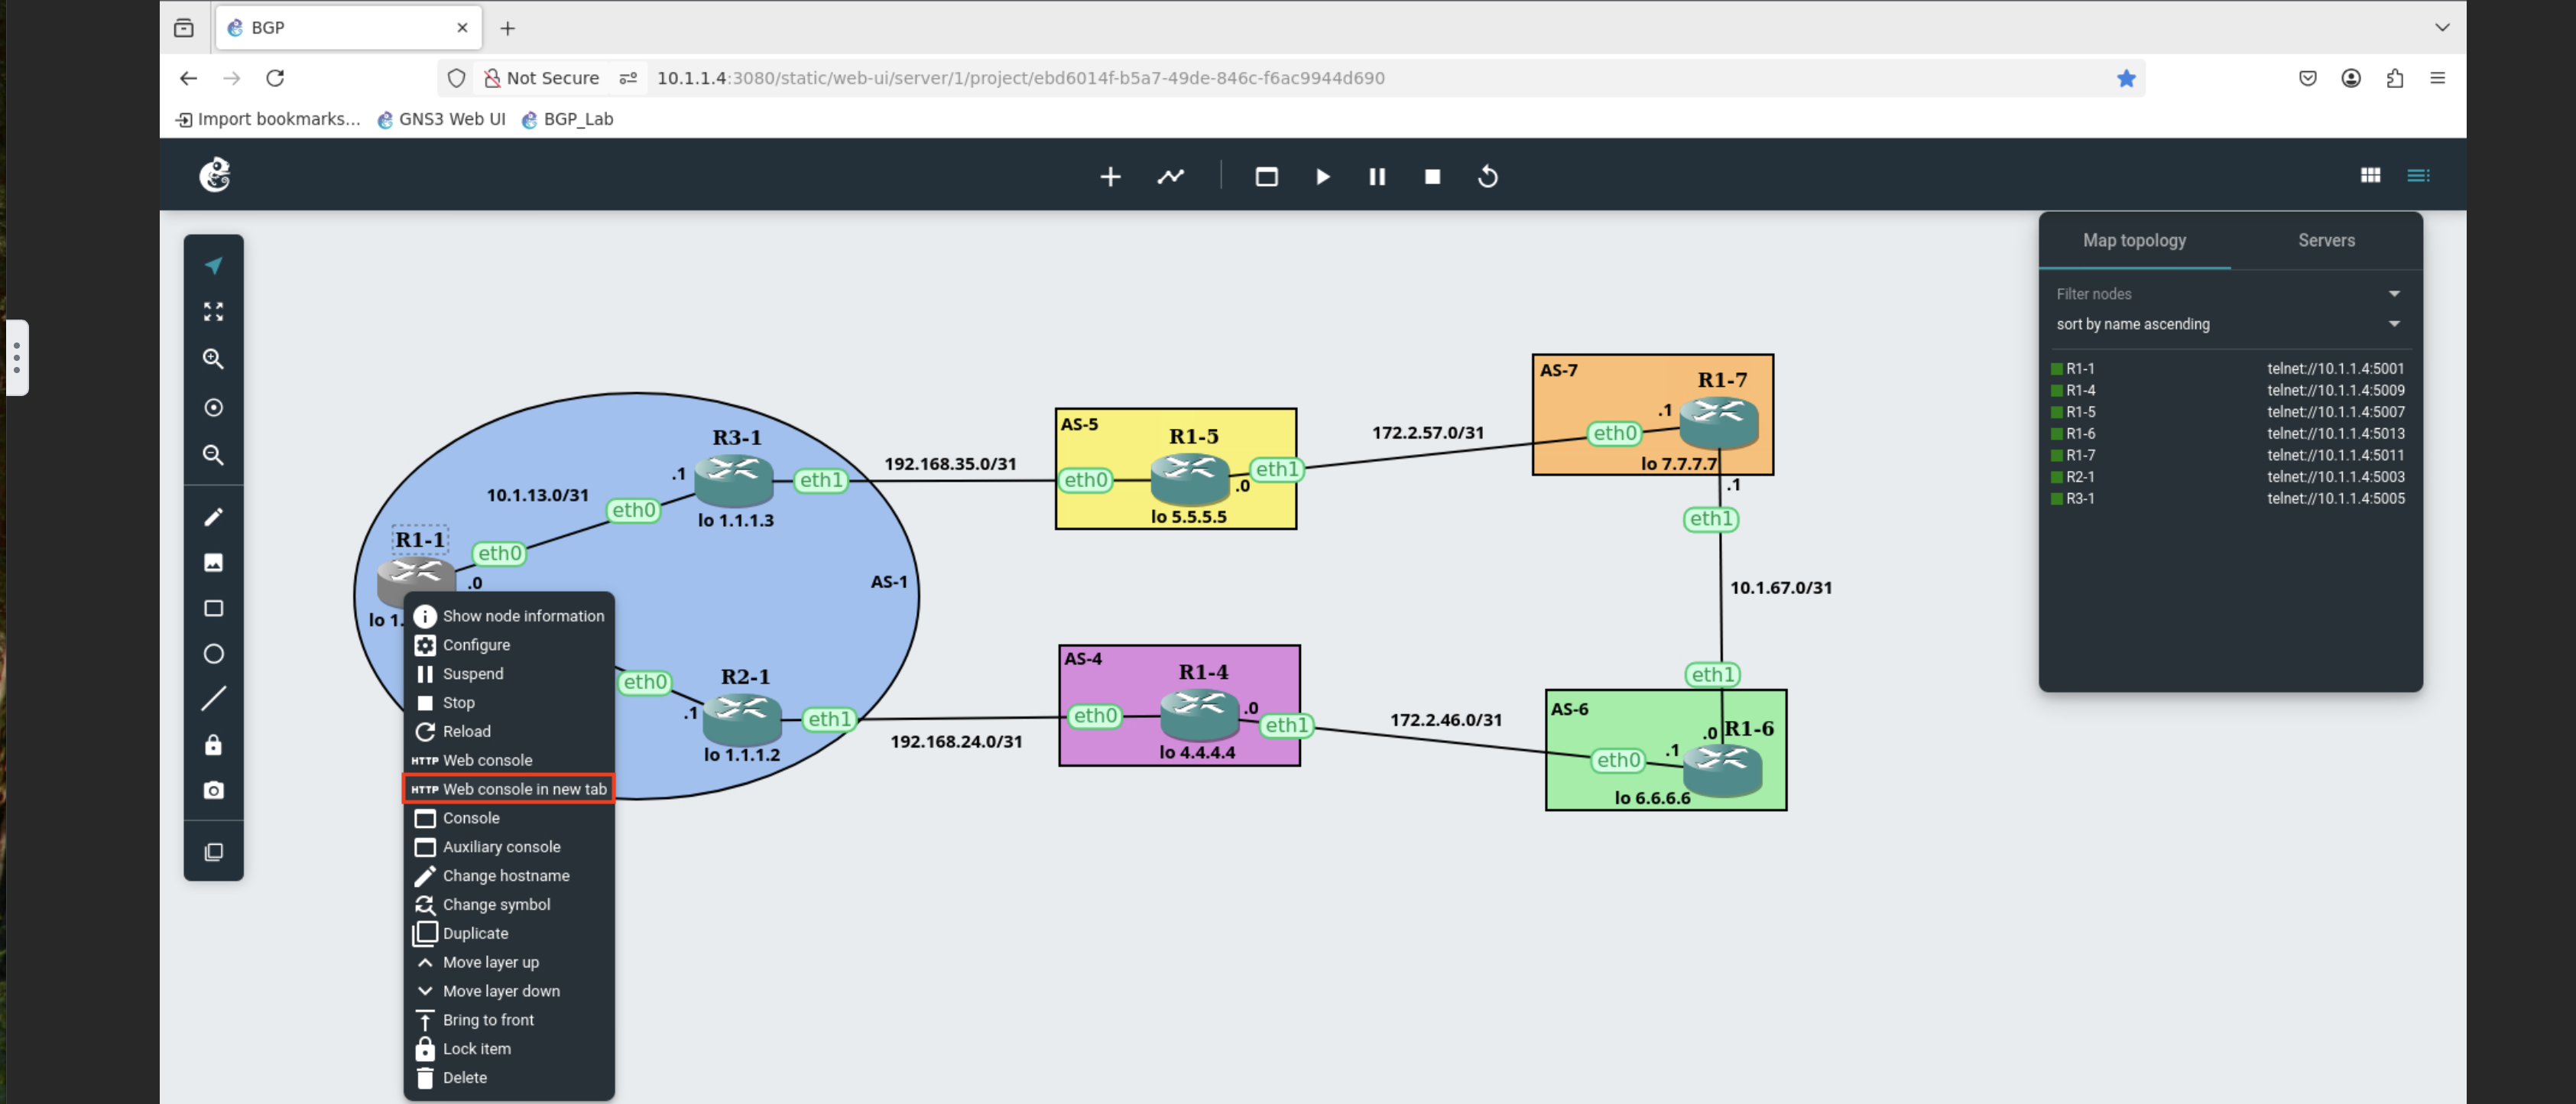
Once all the routers are started, you should see them all in the legend to the far right with green status. Now you can open the GNS3 web console for each router.
You may need to verify the routers are all in the proper starting configuration. Those configurations are provided in the self hosted section.
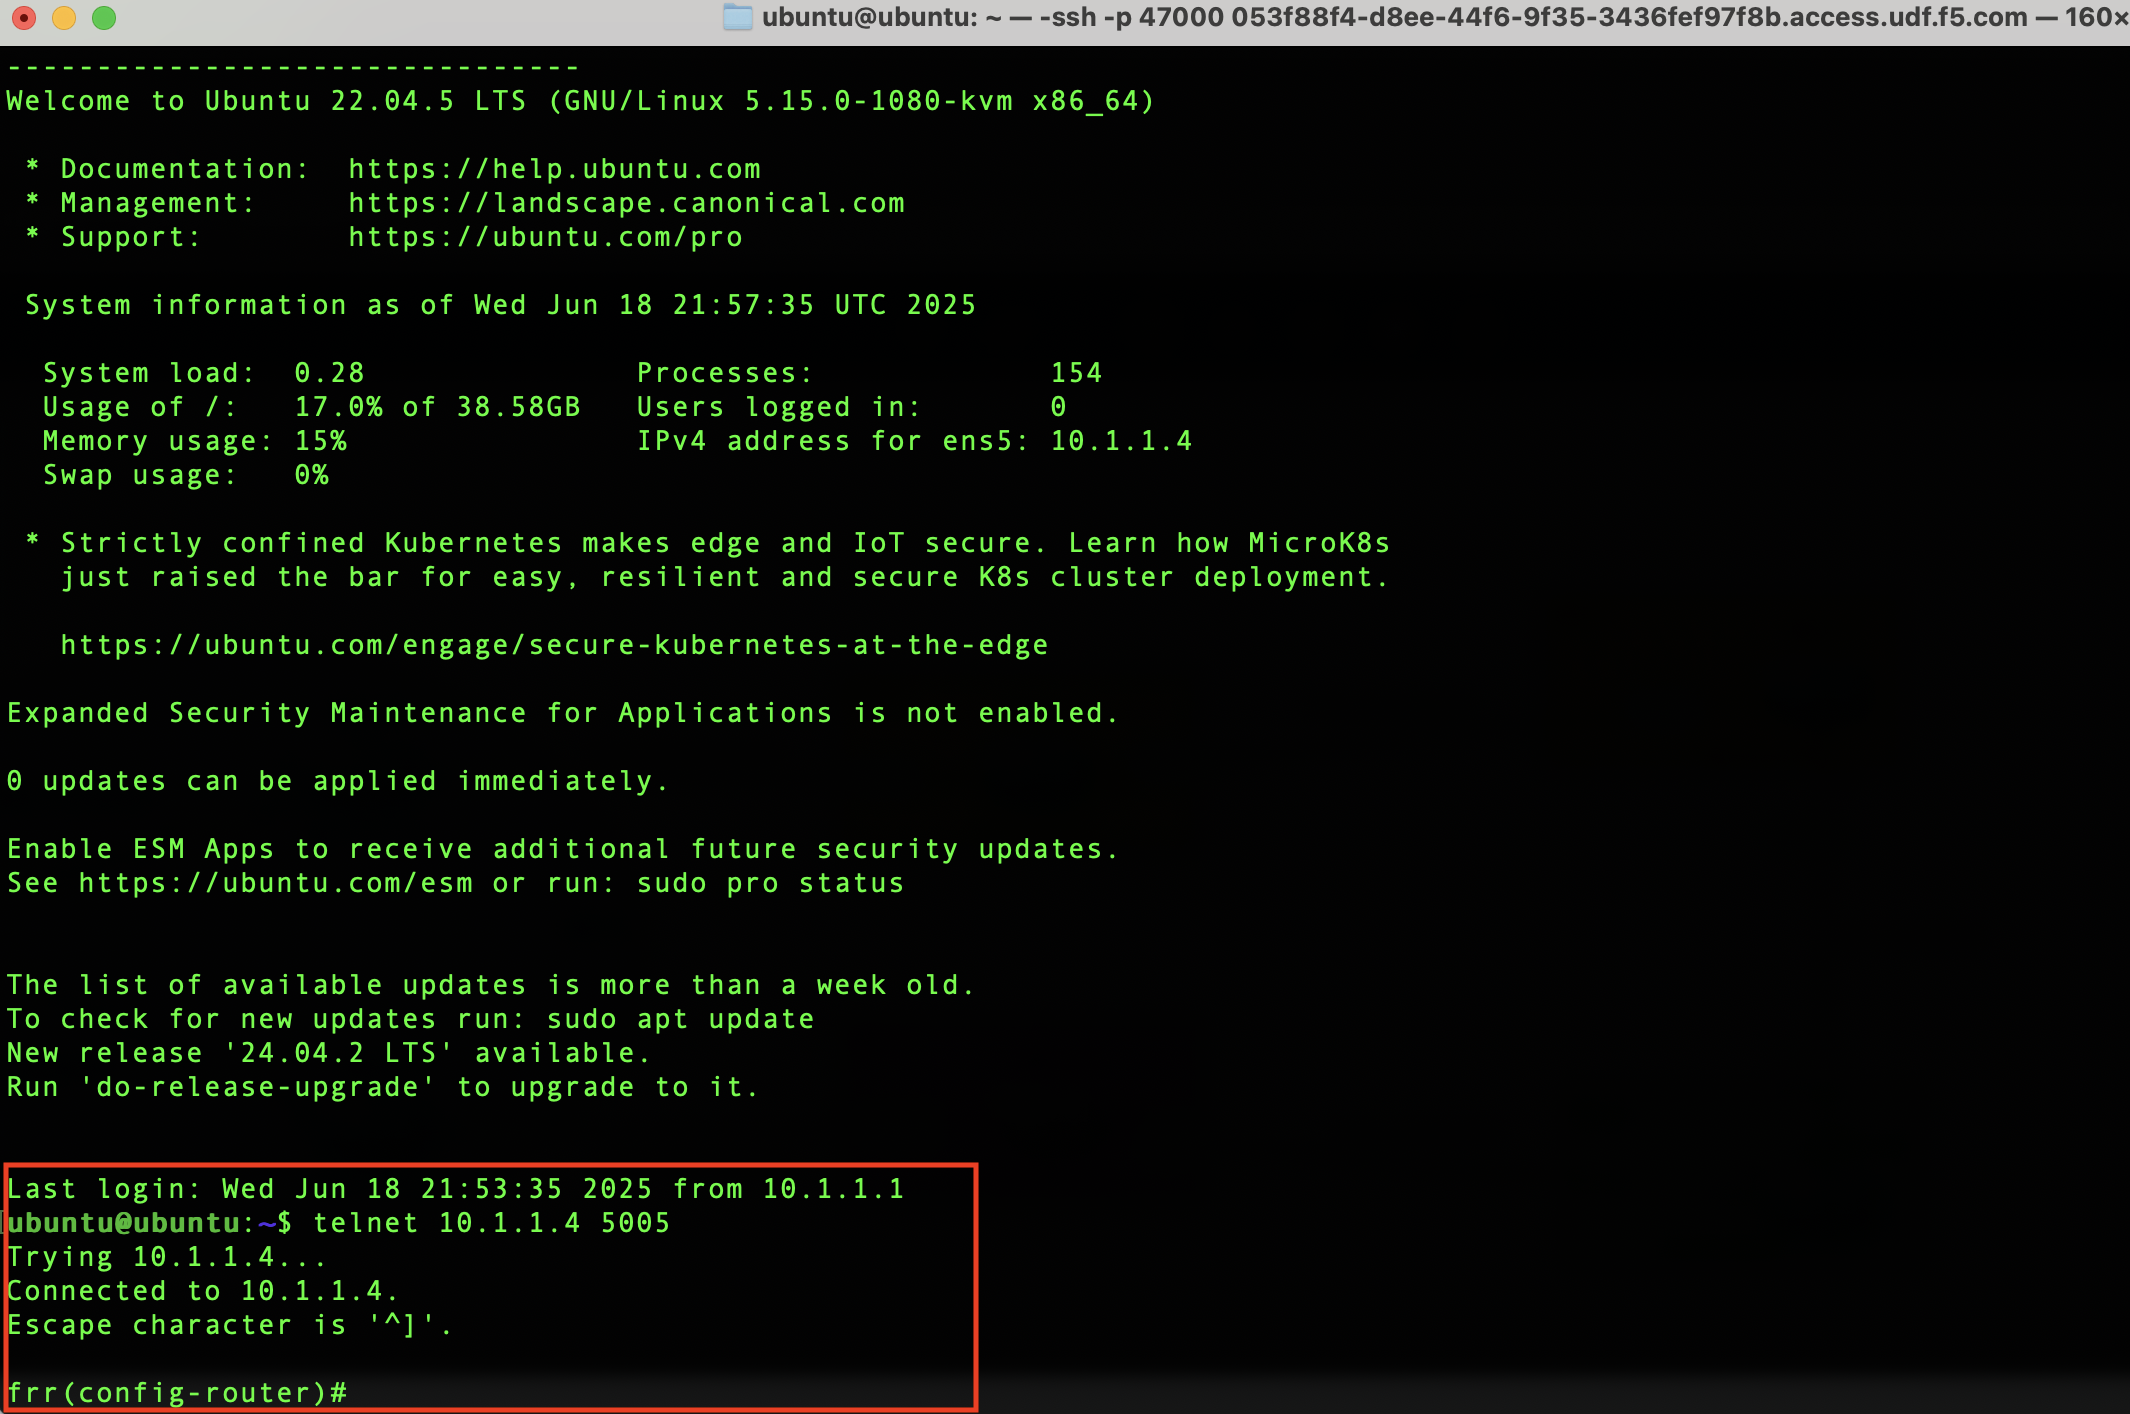
An easy way to copy configurations if missing will be to connect to the via terminal option and then use telnet to access the router consoles.
You can now connect to each router via its unique port to copy/paste configuration.
Router |
IP |
Port |
|---|---|---|
R1-1 |
10.1.1.4 |
5001 |
R2-1 |
10.1.1.4 |
5003 |
R3-1 |
10.1.1.4 |
5005 |
R1-4 |
10.1.1.4 |
5009 |
R1-5 |
10.1.1.4 |
5007 |
R1-6 |
10.1.1.4 |
5013 |
R1-7 |
10.1.1.4 |
5011 |
Note
To exit use Cntrl + ] followed by quit to exit telnet.