Pipeline
Pipelines allow for continuous integration, delivery and deployment. Anytime your repository is updated we may now run extensive testing to validate changes and produce reports (artifacts) proving new changes will work (or not work).

Fig 31
CI file
The ci file determines how the pipeline workflow will run. We can add variables, conditions and select custom container builds for our testing. Some different versions of this file are:
Jenkinsfile {uses Groovy lang)
.gitlab-ci.yml {uses YAML}
azure-pipelines.yml {uses YAML }
cloudbuild.yaml { uses YAML or JSON }
Building a simple pipeline
Here we will build a simple pipeline to run ansible-lint against our playbook to look for errors and return artifacts. Let’s start off this lab with some pre-built ansible playbooks. From the command line please verify you are in the /home/ansible directory
pwd
/home/ansible
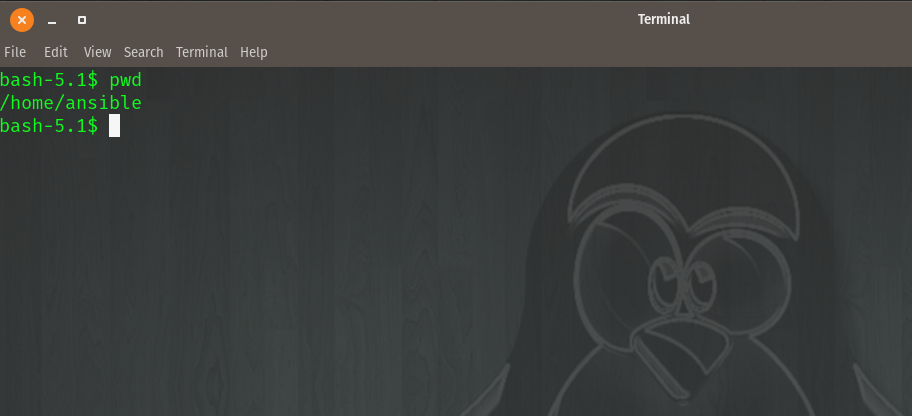
Fig 32
Now let’s clone the below repository:
git clone https://gitlab.com/cwise24/snopsy.pipeline
Once cloned, change directory cd into the new directory
cd snopsy.pipeline
You must create the the ci file using the below code block. Notice the variable SITE has the value site2. After your pipeline runs we will change this to site1, add our rules and update the repository.
Important
Pay close attention to indentation, YAML is very picky!!
variables:
  SITE: "site2"

stages:
   - lint

Linting:
  stage: lint
  image:
    name: cytopia/ansible-lint:latest
    entrypoint: ["/bin/sh", "-c"]
  before_script:
    - python3 -m pip install --upgrade pip
    - python3 -m pip install ansible-lint[yamllint]
    - ansible-lint --version
  script:
    - echo "${SITE} Report" > site_Report.txt
    - ansible-lint $SITE.yml >> site_Report.txt 2>&1
  artifacts:
    when: always
    paths:
      - site_Report.txt
    expire_in: 2 days
It is time to push and create this repository with the new CI file to begin pipeline execution
git add .gitlab-ci.yml
git commit -m "start pipeline"
git push -u git@gitlab.com:<your_gitlab_username>/snopsy.pipeline.git
Pipeline
The figure below shows our new pipeline completed. You can click on the commit hash (green box) to view changes and in the blue box you will be able to download artifacts (if any) generated.
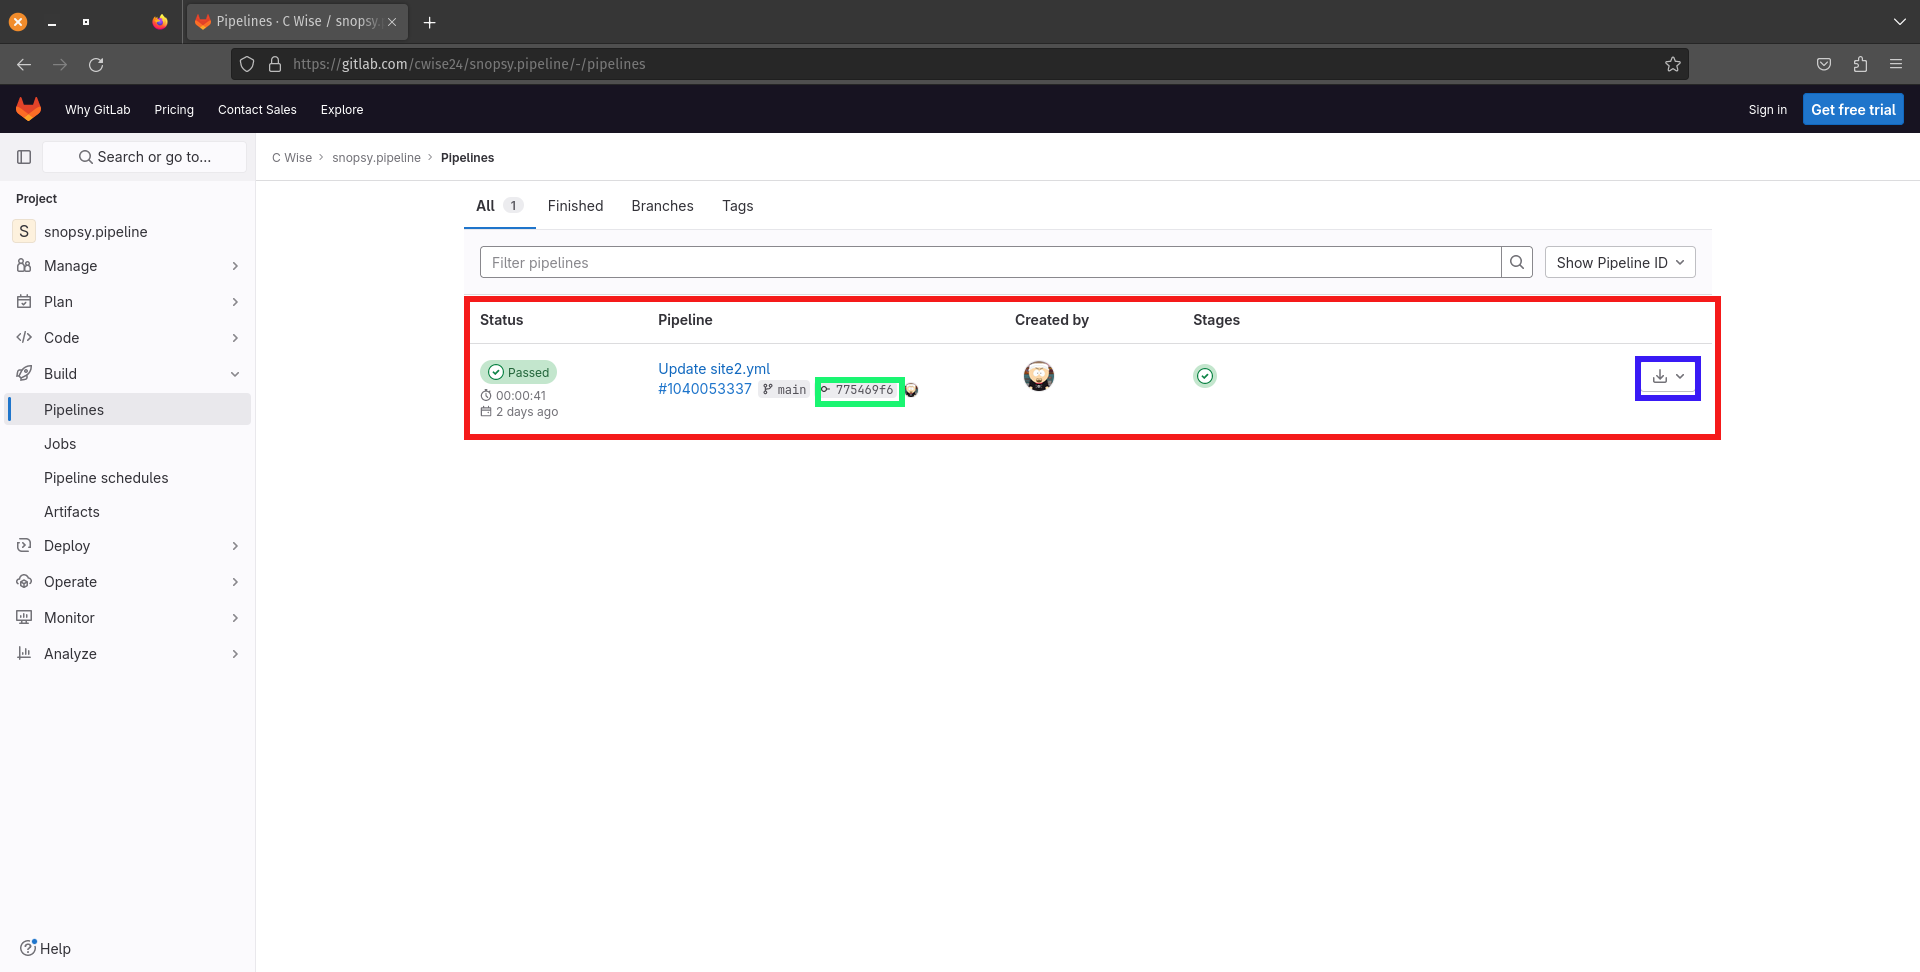
Fig 33
You can also click on Build -> Jobs and the Job number to view the logs from Gitlab Runner (Fig 4)

Fig 34
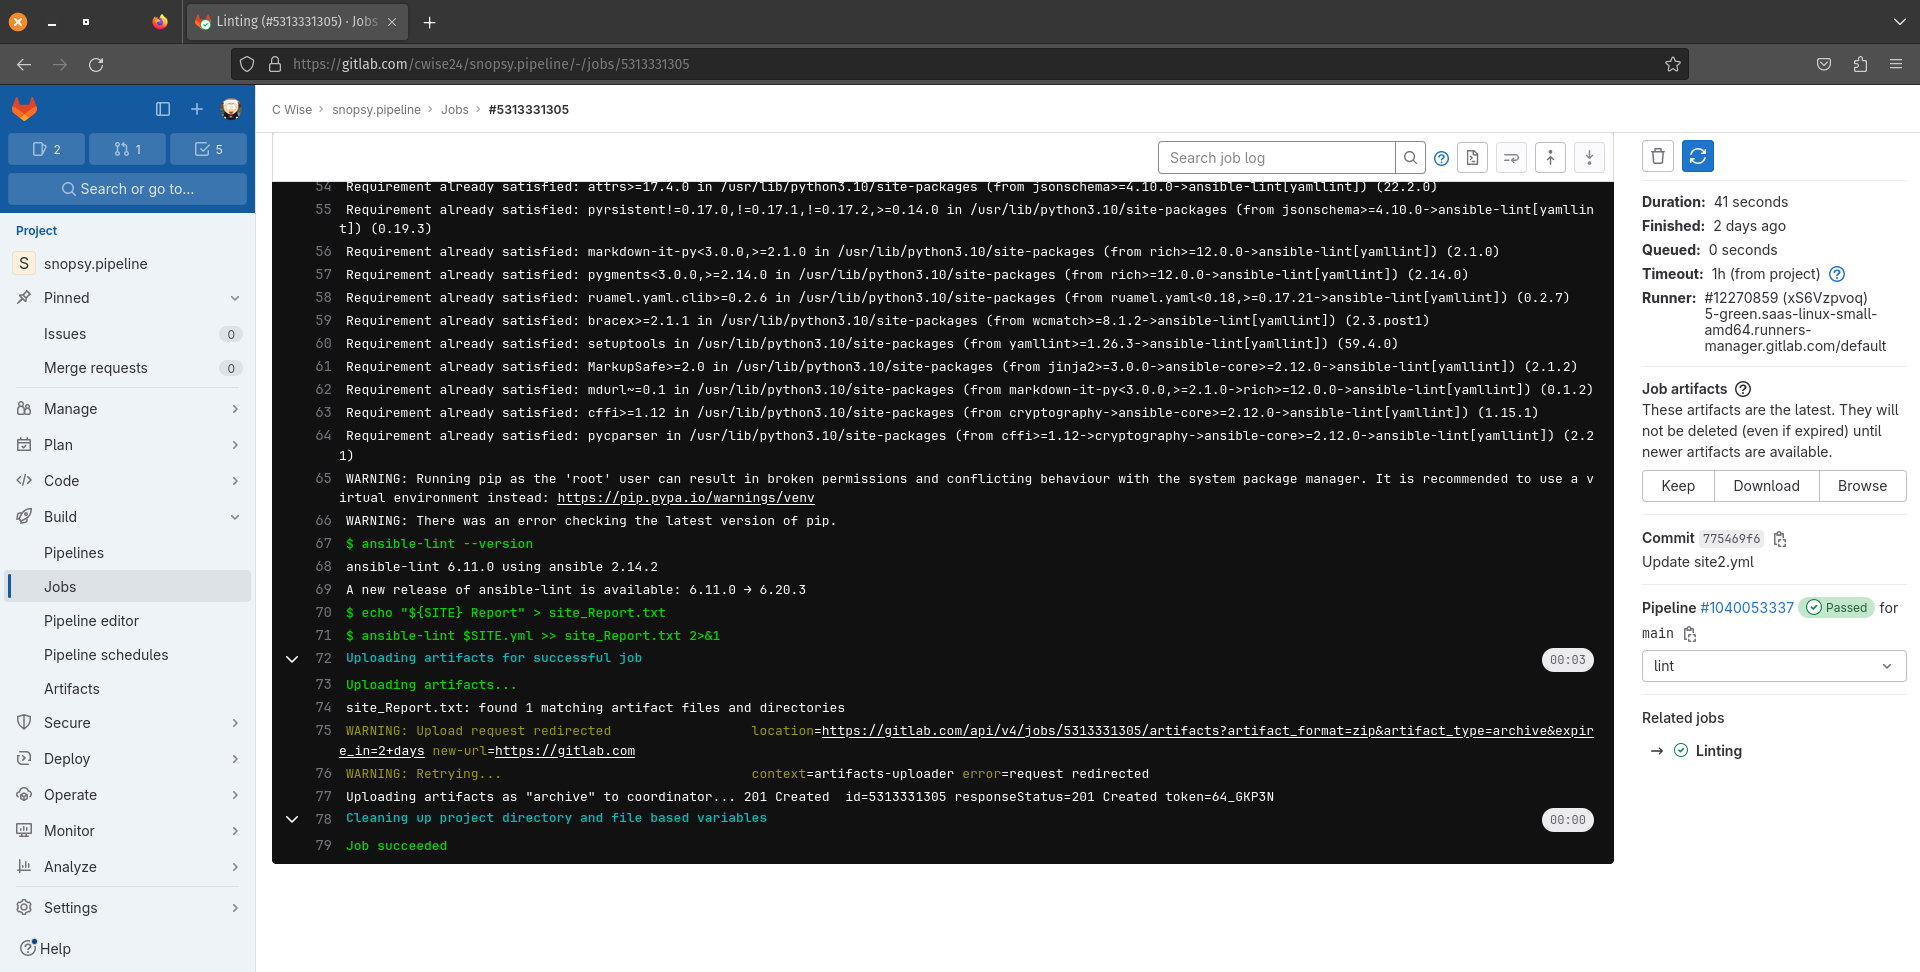
Fig 35
Let’s change our variable SITE to site1 and run the pipeline again
 1variables:
 2  SITE: "site1"
 3
 4stages:
 5   - lint
 6
 7Linting:
 8  stage: lint
 9  image:
10    name: cytopia/ansible-lint:latest
11    entrypoint: ["/bin/sh", "-c"]
12  before_script:
13    - python3 -m pip install --upgrade pip
14    - python3 -m pip install ansible-lint[yamllint]
15    - ansible-lint --version
16  script:
17    - echo "${SITE} Report" > site_Report.txt
18    - ansible-lint $SITE.yml >> site_Report.txt 2>&1
19  artifacts:
20    when: always
21    paths:
22      - site_Report.txt
23    expire_in: 2 days
24  rules:
25    - changes:
26       - site1.yml
27       - site2.yml
28       - .gitlab-ci.yml
Important
Notice the added lines starting at line 24, pipelines will only run if those files have changed
You could now update your README file (or any file, other than those 3) and the pipeline would no longer execute.
It’s now time to push with the updated CI file to begin pipeline execution.
git add .gitlab-ci.yml
git commit -m "site1 pipeline"
git push
Once this pipeline completes we should see a failure. Navigating back to the Job that just executed we can browse to our report
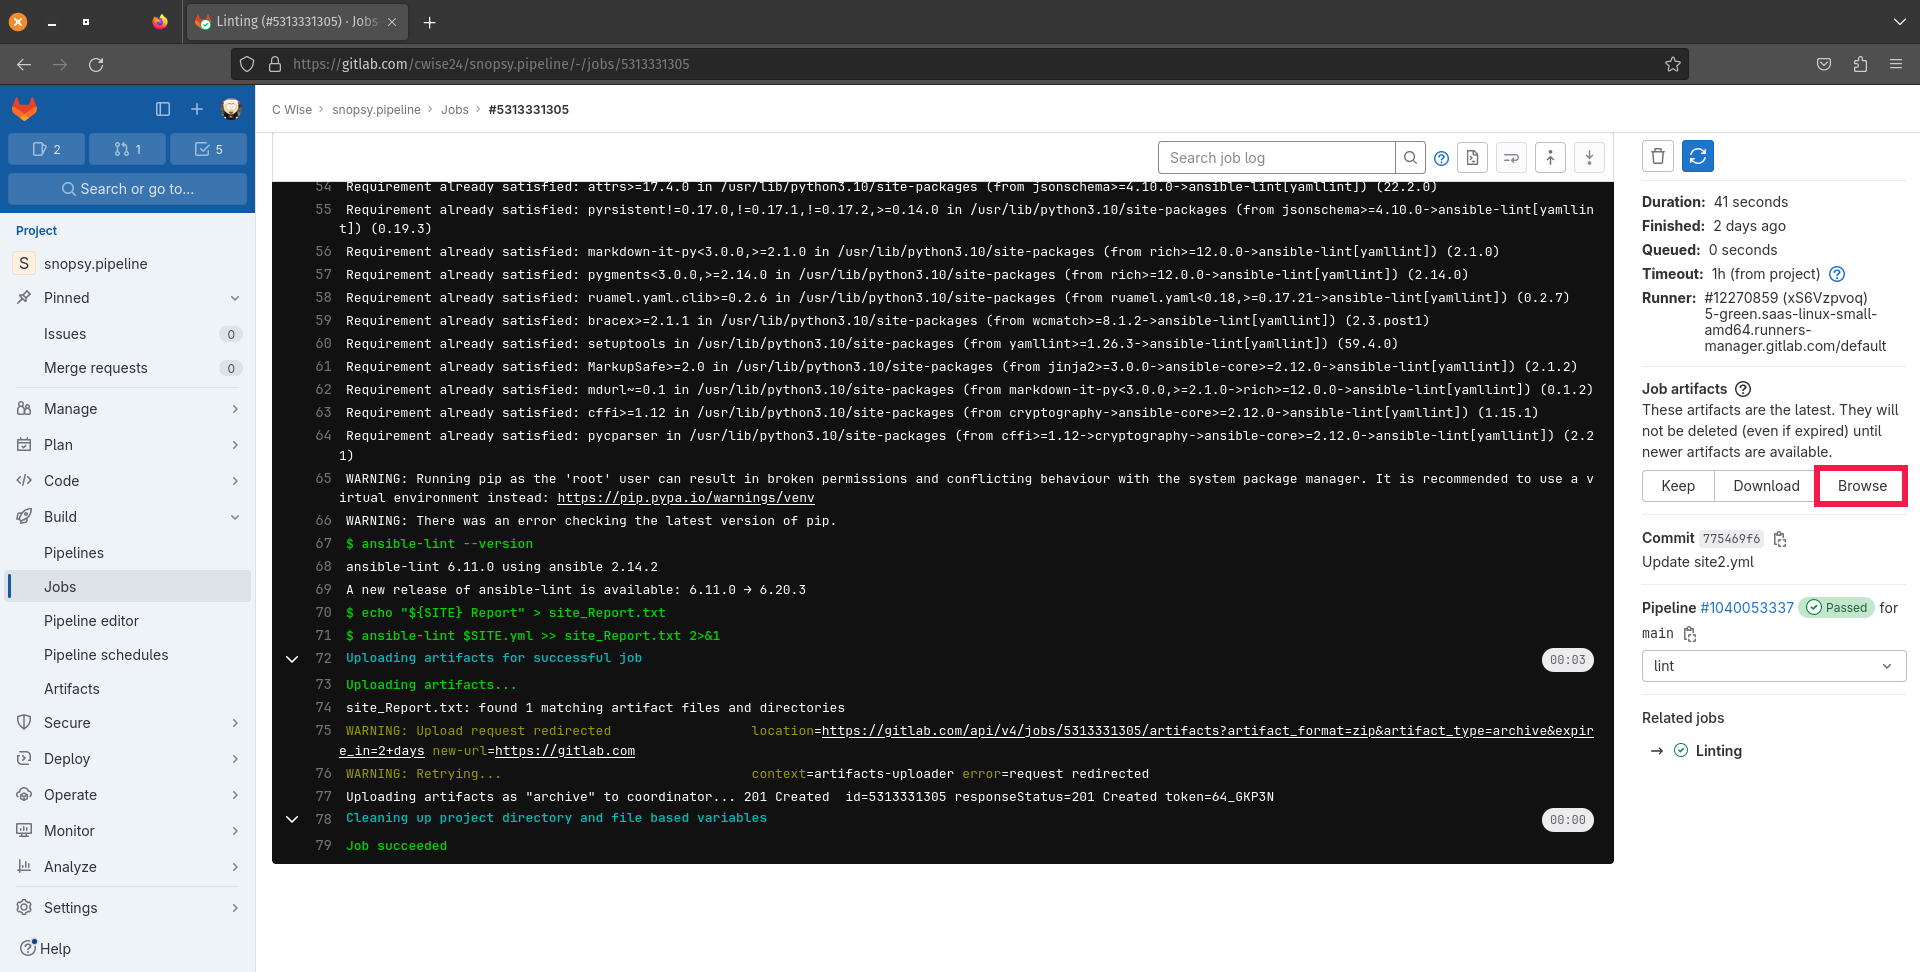
Fig 36
Now you can view the report:
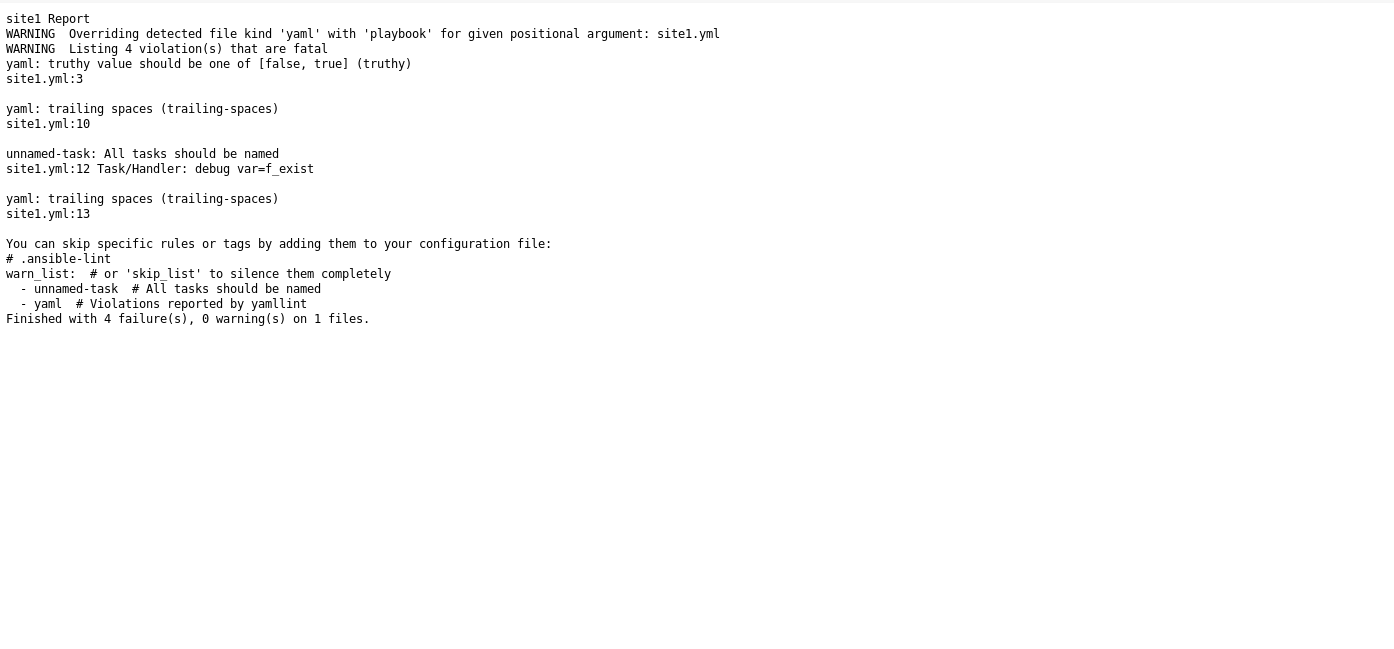
Fig 37
A helpful link to see all the keywords available in your ci file: